There is a class of desserts made in French homes that does not seem to exist here in the United States. It's a pie or cake made of unhealthy things, but topped and flavored with fruit, delicately nested in with the unhealthy parts. The purpose of the fruit is not to make one feel like this dessert is somehow healthier, no no no. The fruit is there to make it more sweet and delicious. Because really, fruit that has been baked doesn't really have any nutritional value anymore. It has just become jam.
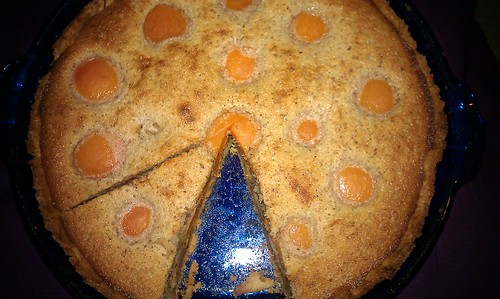
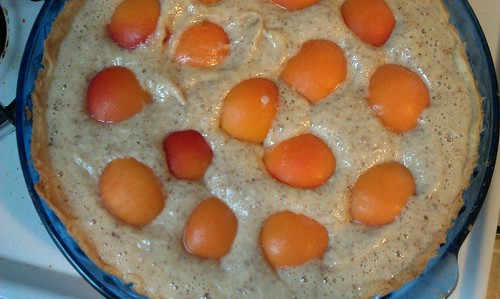
This isn't true of fruit pies of course. Don't try to use logic on baking rationalizations, it just doesn't work, OK? Because if you make a fruit pie, it's practically healthy. If you make a pie that happens to have fruit on/in it, like instead of mounds of whipped topping or meringue, it's adding deliciousness (much like whipped topping or meringue) without adding heft or fat, just a very light touch of sweetness. My aunt Nadia makes this chocolate pear tart which is absolutely delicious, but I don't have the recipe. What I did manage to put together is this apricot almond tart. Yum.
I used a pre-made pie-crust for this, but I bet a graham cracker or cookie crust would work well too. Parbake the crust while you make the filling and cut up the fruit.
Ingredients:
pie crust
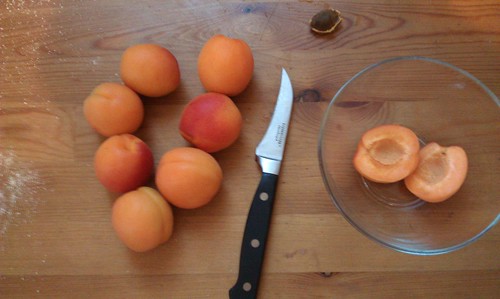
7-8 apricots
1 scant cup ground almonds (100g)
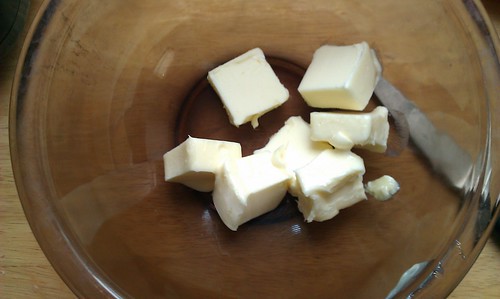
1 stick of butter (100g)
1/2 cup sugar (100g)
2 Tbsp flour
3 Tbsp cream
2 eggs
1 Tbsp dark rum
pinch salt
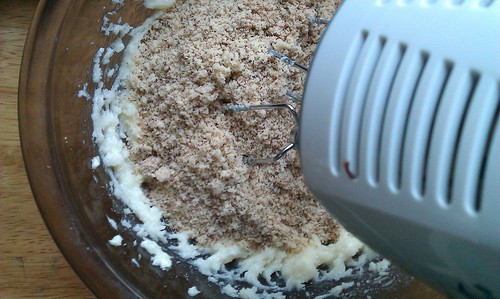
I used a hand mixer, but I bet a stand mixer would work really well here.
Preheat oven to 450F.
1. Cream the butter and sugar.
2. Add almonds and combine.
3. Add eggs one at a time and combine.
4. Add cream, then flour, then salt and rum. Combine until homogeneous.
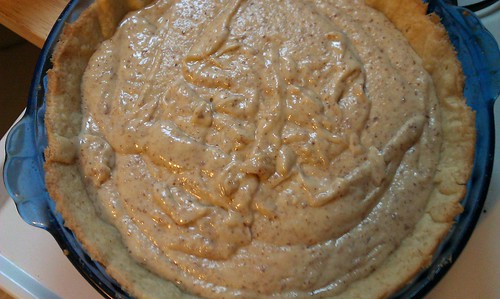
5. Pour batter into pie shell.
6. Halve apricots and nestle them into the pie. Get as many as you can in there.
7. Bake for 20-25 minutes, until dough no longer jiggles.
You don't need to cool this pie very long before cutting into it. Just wait until it won't burn you anymore.
Sunday, October 23, 2011
Sunday, October 16, 2011
Fried zuke
My mom was not a big baker, but she did like making zucchini bread. Unfortunately for her, I did not like zucchini as a kid. I'll tell you, I was not a picky eater at all. I ate everything, including artichokes, and fish, and most everything else. But zucchini, and black olives, I would not eat. And for a couple of years in the mid nineties I completely refused to eat pizza. I digress... zucchini.
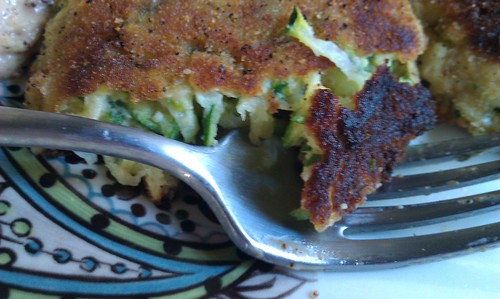
I have since grown to like zucchini, although not in all applications. I'm still not big on the zucchini bread, but I do like zucchini fritters.
They're pretty easy to make. I imagine these could go very well with hummus or in a pita or sandwich of some kind. I just eat them with flavored mayo. I don't typically measure my ingredients, so this is roughly how I made these, but feel free to add, reduce, or entirely remove the parts you don't like.
1. Crack and egg in a bowl.
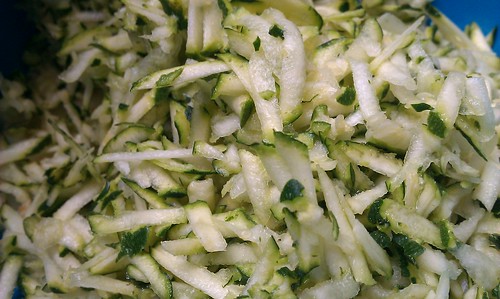
2. Shred 4 to 5 zucchini into bowl.
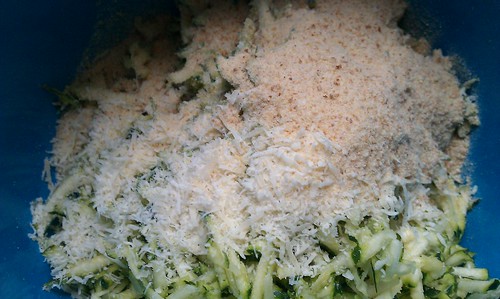
3. Add some bread crumbs, Parmesan, salt and pepper, and any flavorings you may want to add.
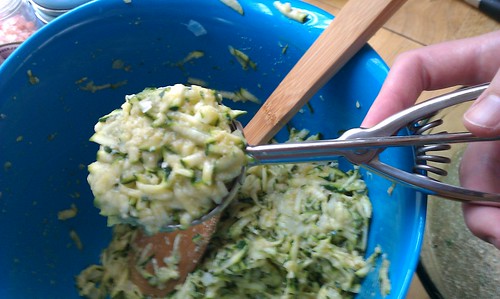
4. Form into patties. I used a number 10 scooper - it's the same one I use for making muffins.
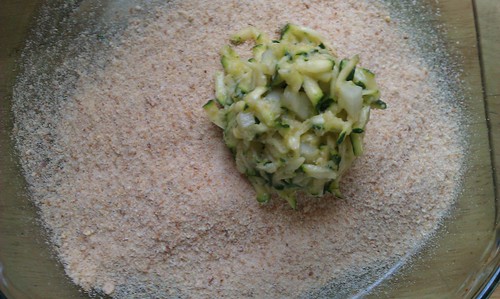
5. Coat in breadcrumbs. I found that without this step, the patties just don't brown up as nicely as I'd like.
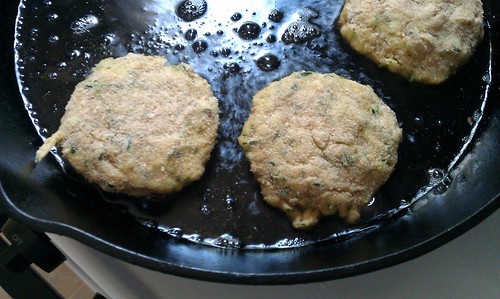
6. Fry in a pan with some olive oil, or whatever you like to use. When I say "fry" I mean pan fry. Lie, just use enough oil to coat the bottom of the pan.
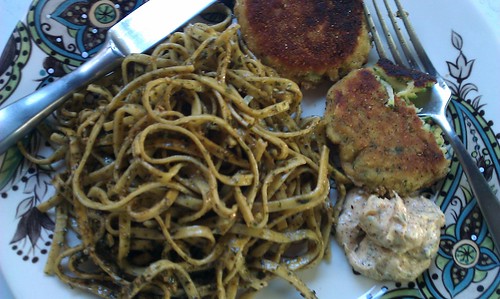
7. Enjoy! Make some fresh mayo in just a few minutes, maybe with some chipotle peppers in adobo sauce. Yum.
Monday, October 10, 2011
Pink Sweater
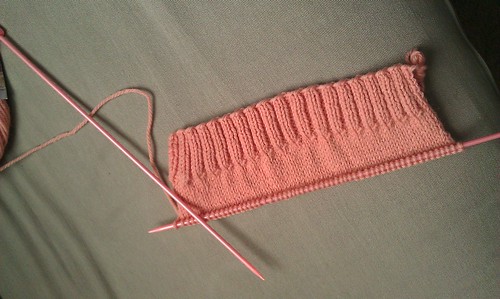
I've made a bunch of socks, so far, including a baby pair! Now, I'm moving on to a full blown sweater. OK, it's not a full blown sweater, it's a sweater vest cardigan. So, no sleeves and one button. I'm making it for my grandma and I started making it in a large size. Now that I've knit the back, though, it's looking a bit small. This may end up being for my cousin or my mom or something... we'll see.
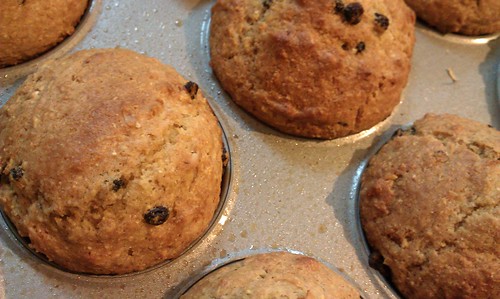
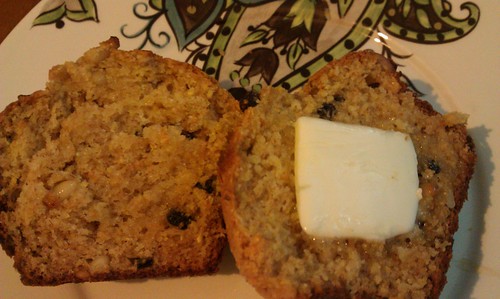
Also, I've been making muffins nearly every week. It makes for a very convenient breakfast. Here are my corn-pine nut muffins with currants.
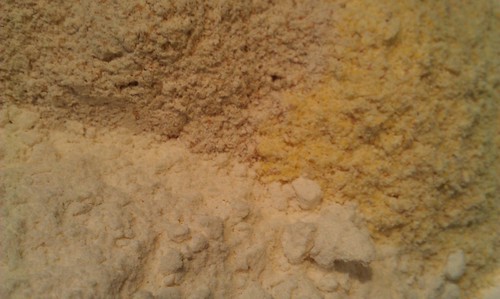
These remind me of the multi grain pancakes because I used three grains.
Ingredients:
1 cup whole wheat pastry flour
1 cup AP flour
1 cup stone ground cornmeal
1.5 tsp baking powder
0.5 tsp salt
2 large eggs
3/4 cups sugar
1 stick butter, melted and cooled (or consider using half canola oil instead to keep muffins moist)
3/4 cup yogurt
1/2 cup milk
1/2 cup toasted pine nuts
1/2 cup dried currants
Making muffins is so easy. Combine dry ingredients, then combine wet ingredients. Then add the mix-ins and wet ingredients to the dry, and gently fold until combined. Scoop dough into greased muffin pan (I use an ice cream scooper) and bake at 350F for 15-20 minutes.
Sunday, September 4, 2011
Wedding Cake Post
Yes, I made a wedding cake this summer. It felt pretty epic, especially since I did it all during a heat wave with no air conditioning. Pretty intense.
I have no pictures of me actually making the cake, because it was a heat wave and we have no AC! But it looked just like making any regular old cake, except A LOT of it. I'll post the recipes at the bottom if you want to try to make these yourself. The almond cake is my favorite. I think I finally found THE almond cake recipe.
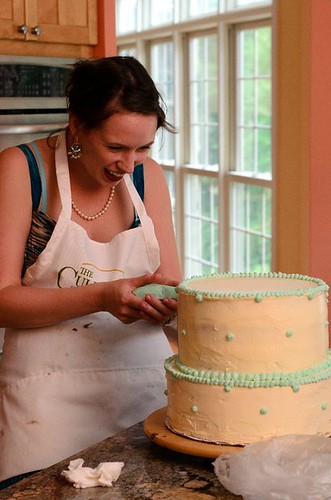
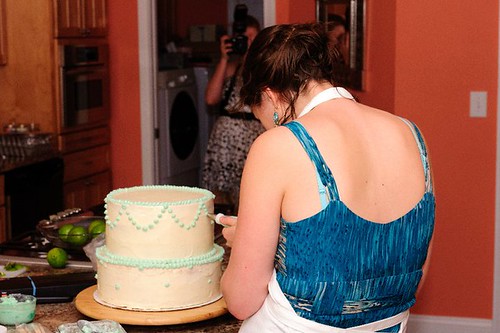
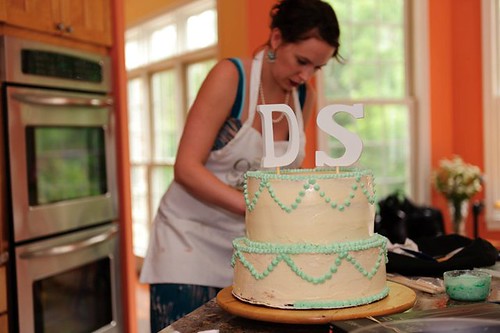
I do have pictures of me decorating it, though. I made one huge batch of Swiss meringue buttercream (I used Smitten Kitchen's recipe) and left it white, and the second batch I dyed to match the bride's seafoam dress.
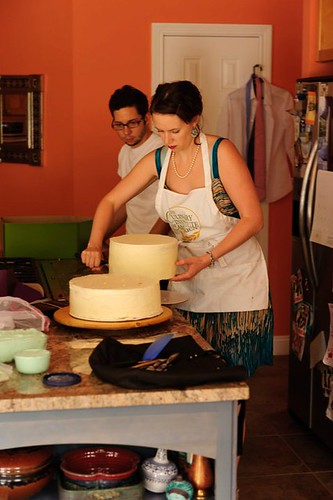
There you have it (more or less). The decorating of the cake. All I can see are the flaws, but everyone else seems to think it looked rather nice.
Oh, you notice that crane? Yeah... I folded another few dozen cranes. I guess I got really involved in this wedding... It was wonderful, by the way. I had a blast. Cutting the cake was a bit intense, though.
Nick helped a lot, which was good because we cut cake frantically for like 10 minutes, and the whole thing was gone. Eaten up! It was definitely good. If you want to make a giant wedding cake yourself, here are the recipes I used.
BTW, if you count the frosting, I used close to 7lbs of butter and 45 eggs to make this thing. Oh yeah.
Almond cake
6.75 cups cake flour
6.75 tsps baking powder
1 tsp salt
10.5 oz almond paste
4 cups sugar
3.75 sticks butter (room temp)
1.5 Tbsp almond extract
15 egg whites
2.25 cups whole milk
1. Preheat oven to 350°F. Butter the bottoms and sides of three 8-inch (but 9-inch will work just fine) round cake pans. Line the bottom of each pan with a round of parchment or waxed paper and butter the paper.
2. In a medium bowl, sift together the cake flour, baking powder and salt. Set the dry ingredients aside.
3. Place the almond paste and sugar in the bowl of a heavy-duty mixer fitted with the paddle attachment, or in another large bowl if using a handheld mixer. Begin to cream the mixture on low speed to break up the almond paste, then increase the speed to medium for about 2 minutes, or until the paste is broken into fine particles.
4. Add the butter and almond extract and beat it well, then the egg whites, two or three at a time, beating just long enough to incoperate after each addition. Scrape down the sides of the bowl several times to make sure it is evenly mixed.
5. Dust about a third of the dry ingredients over the batter and fold in with a large rubber spatula until just combined. Fold in about half the milk. Fold in half the remaining flour mixture, followed by the remaining milk. Finally, fold in the last of the dry ingredients just until no streaks of white remain. Use a light hand and do not overmix. Divide the batter among the three prepared cake pans.
6. Bake for 25 to 30 minutes or until a cake tester or wooden toothpick stuck into the center comes out clean. Let the cakes cool in their pans on wire racks for about 10 minutes. Turn the cakes out on to wire racks, carefully peel off the paper liners and let them cool completely, about one hour.
7. Assemble the cake: Place one layer flat side up on a cake stand or serving plate. Slide small strips of waxed paper under the edges to protect the plate from any messiness accumulated while decorating. Brush first layer with simple syrup, if using. Spread 1/2 cup of the raspberry preserves over the cake, leaving a 1/4 inch margin around the edges. Repeat with the second layer, brushing syrup if using and using remaining preserves. Add the third layer and brush with syrup if using.
8. Spread a thin layer frosting of your choice over the top and sides of the cake. Let frosting set in the fridge for about 20 to 30 minutes (this is your crumb coat) then spread a thicker, decorative coat over the base coat. If you have any frosting remaining, pipe a decoration of your choice.
Chocolate cake
cake flour 6 cups
baking soda 6 tsp
salt 3 ½ tsp
cocoa powder 3 cups
sugar 6 cups
butter (room temp) 6 sticks
cinnamon 3 ½ tsp
eggs 6
buttermilk 3 cups
coffee (room temp) 3 cups
1. Preheat the oven to 350 degrees F. Butter three 8-inch square cake pans. Line the bottoms with parchment or waxed paper and butter the paper.
2. In a large mixer bowl, combine the flour, sugar, cocoa, baking soda, cinnamon, and salt. With the electric mixer on low speed, blend for about 30 seconds. Add the butter and buttermilk and blend on low until moistened. Raise the speed to medium and beat until light and fluffy, 2 to 3 minutes.
3. Whisk the eggs and coffee together, and add to the batter in 3 additions, scraping down the sides of the bowl and beating only until blended after each addition. Divide the batter among the three prepared pans; each pan will take about 3 1/4 cups of batter.
4. Bake for 38 to 40 minutes, or until a cake tester or wooden toothpick inserted in the center comes out clean. Carefully turn them out onto wire racks and allow to cool completely. Remove the paper liners only when they are cool.
I have no pictures of me actually making the cake, because it was a heat wave and we have no AC! But it looked just like making any regular old cake, except A LOT of it. I'll post the recipes at the bottom if you want to try to make these yourself. The almond cake is my favorite. I think I finally found THE almond cake recipe.
I do have pictures of me decorating it, though. I made one huge batch of Swiss meringue buttercream (I used Smitten Kitchen's recipe) and left it white, and the second batch I dyed to match the bride's seafoam dress.
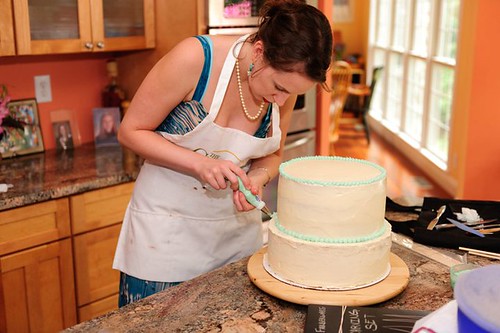
There you have it (more or less). The decorating of the cake. All I can see are the flaws, but everyone else seems to think it looked rather nice.
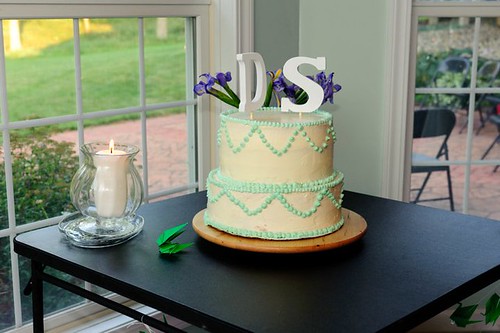
Oh, you notice that crane? Yeah... I folded another few dozen cranes. I guess I got really involved in this wedding... It was wonderful, by the way. I had a blast. Cutting the cake was a bit intense, though.
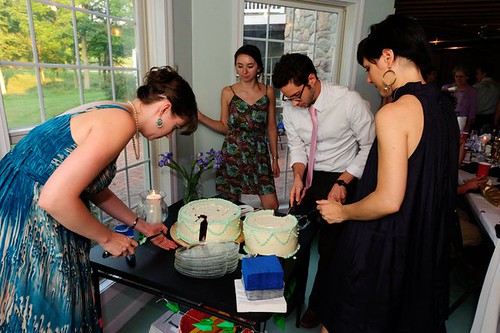
Nick helped a lot, which was good because we cut cake frantically for like 10 minutes, and the whole thing was gone. Eaten up! It was definitely good. If you want to make a giant wedding cake yourself, here are the recipes I used.
BTW, if you count the frosting, I used close to 7lbs of butter and 45 eggs to make this thing. Oh yeah.
Almond cake
6.75 cups cake flour
6.75 tsps baking powder
1 tsp salt
10.5 oz almond paste
4 cups sugar
3.75 sticks butter (room temp)
1.5 Tbsp almond extract
15 egg whites
2.25 cups whole milk
1. Preheat oven to 350°F. Butter the bottoms and sides of three 8-inch (but 9-inch will work just fine) round cake pans. Line the bottom of each pan with a round of parchment or waxed paper and butter the paper.
2. In a medium bowl, sift together the cake flour, baking powder and salt. Set the dry ingredients aside.
3. Place the almond paste and sugar in the bowl of a heavy-duty mixer fitted with the paddle attachment, or in another large bowl if using a handheld mixer. Begin to cream the mixture on low speed to break up the almond paste, then increase the speed to medium for about 2 minutes, or until the paste is broken into fine particles.
4. Add the butter and almond extract and beat it well, then the egg whites, two or three at a time, beating just long enough to incoperate after each addition. Scrape down the sides of the bowl several times to make sure it is evenly mixed.
5. Dust about a third of the dry ingredients over the batter and fold in with a large rubber spatula until just combined. Fold in about half the milk. Fold in half the remaining flour mixture, followed by the remaining milk. Finally, fold in the last of the dry ingredients just until no streaks of white remain. Use a light hand and do not overmix. Divide the batter among the three prepared cake pans.
6. Bake for 25 to 30 minutes or until a cake tester or wooden toothpick stuck into the center comes out clean. Let the cakes cool in their pans on wire racks for about 10 minutes. Turn the cakes out on to wire racks, carefully peel off the paper liners and let them cool completely, about one hour.
7. Assemble the cake: Place one layer flat side up on a cake stand or serving plate. Slide small strips of waxed paper under the edges to protect the plate from any messiness accumulated while decorating. Brush first layer with simple syrup, if using. Spread 1/2 cup of the raspberry preserves over the cake, leaving a 1/4 inch margin around the edges. Repeat with the second layer, brushing syrup if using and using remaining preserves. Add the third layer and brush with syrup if using.
8. Spread a thin layer frosting of your choice over the top and sides of the cake. Let frosting set in the fridge for about 20 to 30 minutes (this is your crumb coat) then spread a thicker, decorative coat over the base coat. If you have any frosting remaining, pipe a decoration of your choice.
Chocolate cake
cake flour 6 cups
baking soda 6 tsp
salt 3 ½ tsp
cocoa powder 3 cups
sugar 6 cups
butter (room temp) 6 sticks
cinnamon 3 ½ tsp
eggs 6
buttermilk 3 cups
coffee (room temp) 3 cups
1. Preheat the oven to 350 degrees F. Butter three 8-inch square cake pans. Line the bottoms with parchment or waxed paper and butter the paper.
2. In a large mixer bowl, combine the flour, sugar, cocoa, baking soda, cinnamon, and salt. With the electric mixer on low speed, blend for about 30 seconds. Add the butter and buttermilk and blend on low until moistened. Raise the speed to medium and beat until light and fluffy, 2 to 3 minutes.
3. Whisk the eggs and coffee together, and add to the batter in 3 additions, scraping down the sides of the bowl and beating only until blended after each addition. Divide the batter among the three prepared pans; each pan will take about 3 1/4 cups of batter.
4. Bake for 38 to 40 minutes, or until a cake tester or wooden toothpick inserted in the center comes out clean. Carefully turn them out onto wire racks and allow to cool completely. Remove the paper liners only when they are cool.
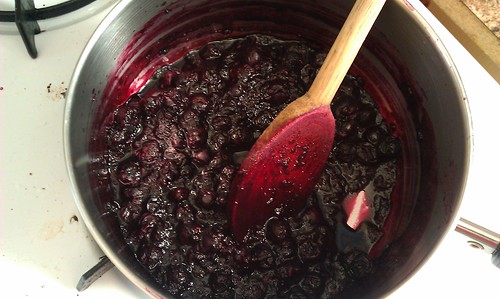
Labels:
almond,
almond pound cake,
butter-cream frosting,
chocolate,
decorate,
dessert,
frosting,
wedding cake
Wednesday, August 24, 2011
Mojito Cake
Our mint is gone. GONE! The management company that takes care of our rental decided than when they mowed the lawn, they would mow down our mint and chives too. Until the mowing incident, I had been making mojitos pretty regularly. I even had a special muddler stick, not that you really need one. The stick end of a wooden spoon would work just fine.
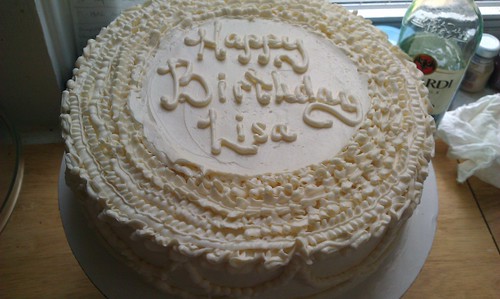
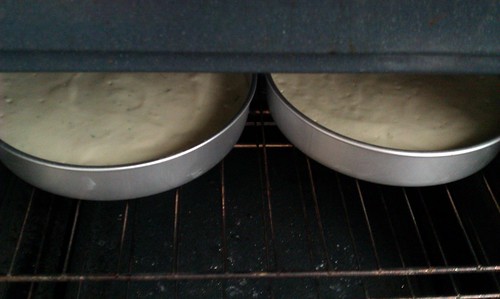
But this summer I also made a cake out of all those lovely mojito flavors. I squeezed some limes, and brewed some mint simple syrup and baked some sponge cakes. And I made Italian meringue butter-cream frosting. Oh my it was good. And I practiced my frosting skills before the big wedding cake. More on that another time.
The cake was a simple sponge cake made with lime instead of lemon zest and a bit of rum mixed in.
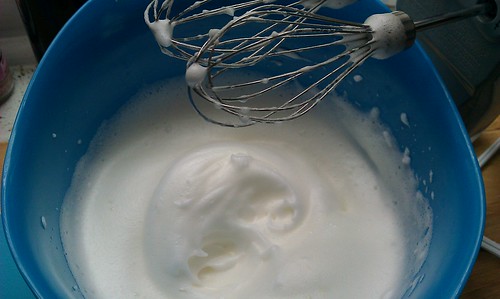
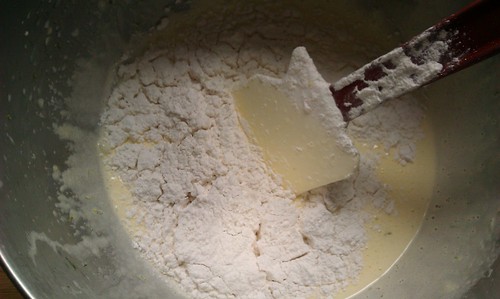
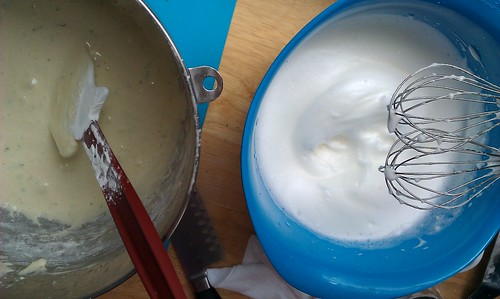
Whip the egg whites, which gives the cake most of its structure. Then mix the yolks with sugar, zest, and rum. Fold in the dry ingredients, then fold in the whites. It's not a particularly exciting recipe, actually comes right out of the Joy of Cooking.
What makes this cake so good is the filling. Mint lime curd. It is sooo good. As I mentioned earlier, this cake was a sort of preparation for a wedding cake. A wedding cake that used up many many egg whites while tossing aside the yolks. I wanted to find a home for those ooey gooey yolks, and curds are a great way of doing that.
Combine
8 egg yolks
1 1/2 cups sugar
1/4 cup (1/2 stick) butter
zest and juice of 5 limes
A handful of ripped mint
Heat it over a double boiler until it thickens. Then strain out the mint leaves, and cool. The texture won't be right until it has chilled.
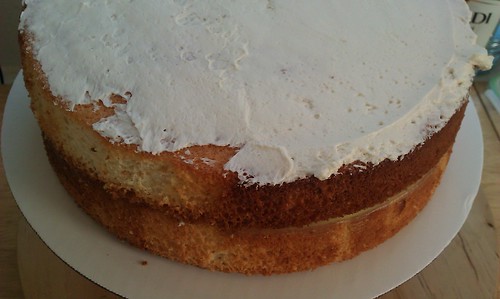
The final result tastes a lot like key lime pie, zingy and creamy, and delicious when eaten out of the jar with a spoon. Mmmm.
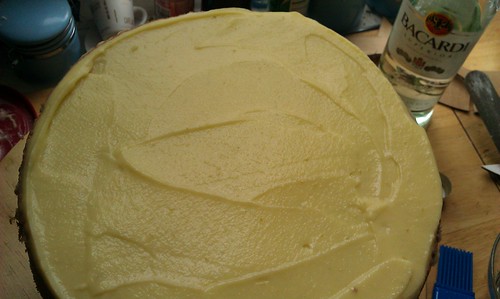
To assemble the final product, brush one cake with a combination of rum and mint simple syrup, emphasis on the rum. Then slather on the curd. Add the second cake and douse it with more rum and mint. Finally, frost.
Although the cake and the curd went beautifully together, the frosting was too rich for such a light and ethereal cake. A seven-minute frosting might have been better.
But this summer I also made a cake out of all those lovely mojito flavors. I squeezed some limes, and brewed some mint simple syrup and baked some sponge cakes. And I made Italian meringue butter-cream frosting. Oh my it was good. And I practiced my frosting skills before the big wedding cake. More on that another time.
The cake was a simple sponge cake made with lime instead of lemon zest and a bit of rum mixed in.
Whip the egg whites, which gives the cake most of its structure. Then mix the yolks with sugar, zest, and rum. Fold in the dry ingredients, then fold in the whites. It's not a particularly exciting recipe, actually comes right out of the Joy of Cooking.
What makes this cake so good is the filling. Mint lime curd. It is sooo good. As I mentioned earlier, this cake was a sort of preparation for a wedding cake. A wedding cake that used up many many egg whites while tossing aside the yolks. I wanted to find a home for those ooey gooey yolks, and curds are a great way of doing that.
Combine
8 egg yolks
1 1/2 cups sugar
1/4 cup (1/2 stick) butter
zest and juice of 5 limes
A handful of ripped mint
Heat it over a double boiler until it thickens. Then strain out the mint leaves, and cool. The texture won't be right until it has chilled.
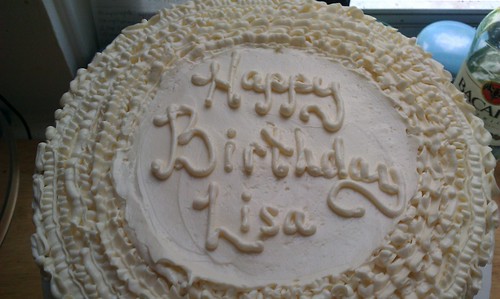
The final result tastes a lot like key lime pie, zingy and creamy, and delicious when eaten out of the jar with a spoon. Mmmm.
To assemble the final product, brush one cake with a combination of rum and mint simple syrup, emphasis on the rum. Then slather on the curd. Add the second cake and douse it with more rum and mint. Finally, frost.
Although the cake and the curd went beautifully together, the frosting was too rich for such a light and ethereal cake. A seven-minute frosting might have been better.
Thursday, August 18, 2011
Fish Tacos
Do you know how to fillet a fish? I'm not very good at it. In fact, after ruining a few fish, I decided to do what my mom does: just cook the whole thing and let diners get the bones out. Actually, she has this move that I have yet to learn where she fillets the fish when it's half cooked, right in the pan. Flop! And there's half the fish all neatly separated. Then she pulls out the spine with all the "arĂȘtes" attached.
So when I bought some whole catfish at the grocery store, I thought I would try her strategy. When I say whole, I mean, the spine was still in there attached.
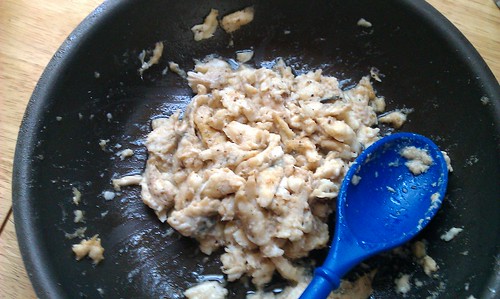
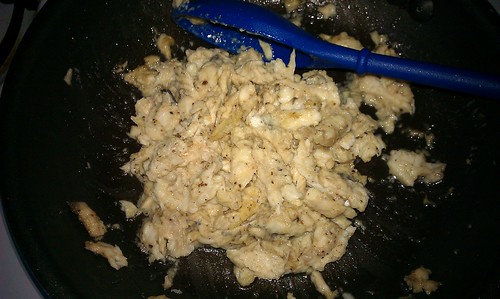
So I melted some butter, squeezed in some lemon and threw the whole fish right in the pan. I did not take any pictures because my attempt at filleting was not pretty, and my fingers were very buttery. I do have a pictures of the fish left over from my torturous attempts.
Notice the sheer quantity of fish I was not able to remove cleanly. All the better to make some kind of salad, I thought. But then I thought about the fish tacos I had eaten in the Purdue Union at La Salsa Restaurant. Mighty tasty with a zesty lime cilantro sauce, cabbage slaw, and avocado. Their fish tacos are made with whole big pieces of fish, but I thought my leftovers would work well too.
First, I grated some ginger. Maybe a teaspoon's worth to cook up with the left over fish.
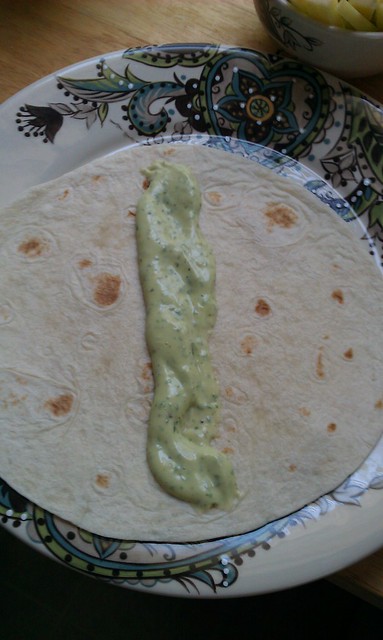
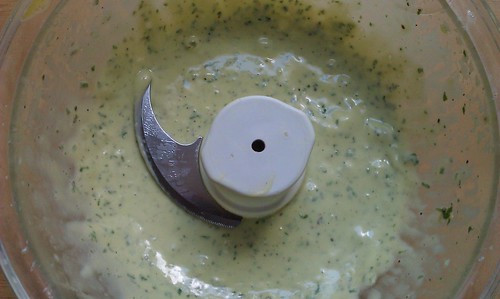
Then, I made a mayonnaise. It's really easy if you have a food processor. I used the small bowl insert because I was only using one egg.
First, process the egg with whatever flavorings you want and a squeeze of lemon or lime juice. I used horseradish and lots of fresh basil from our garden. Then, slowly add about a cup of oil. Here, I used olive oil - not the extra virgin stuff because it tastes too fruity. Then, season with salt and pepper. Tada! Home-made mayo.
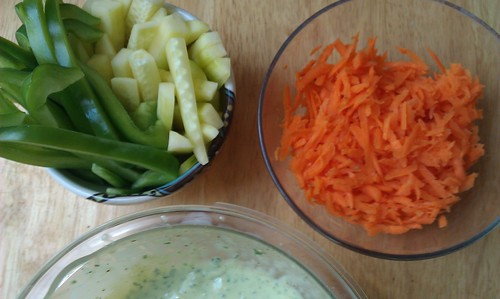
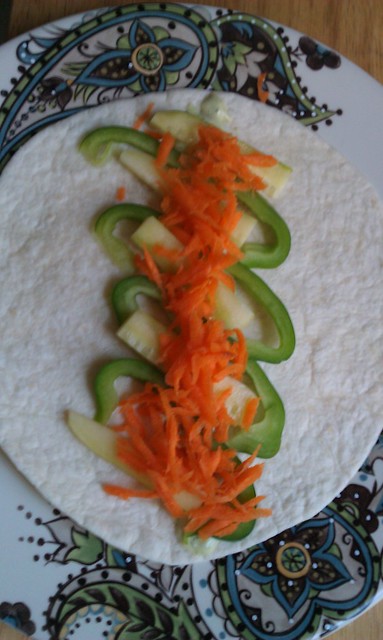
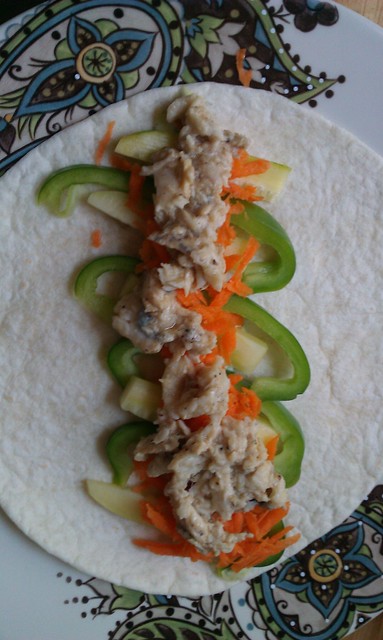
Then I prepared some fixin's. I didn't have any avocado on hand, but if you actually plan to make then, then I highly recommend avocado. So good. I just chopped some cucumbers and peppers and shredded some carrot. The carrot was very nice. Cold, crunchy, juicy. The peppers and cucumber came in handy to finish the last of the mayo when there was no more fish to make tacos with.
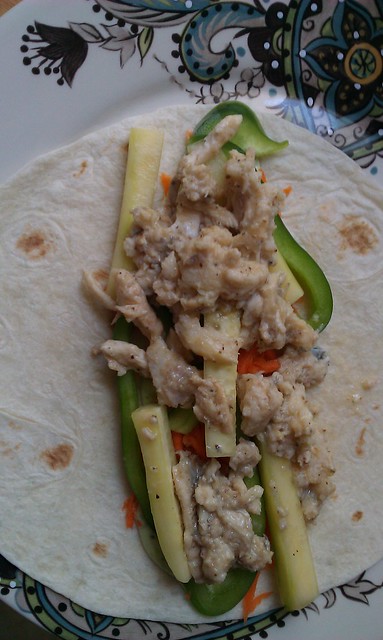
And then... assemble!
Nick did a good job at making his look good. They were absolutely delicious, but in the future, I would replace the peppers with avocado. Mmmm avocado.
Monday, August 15, 2011
Random update
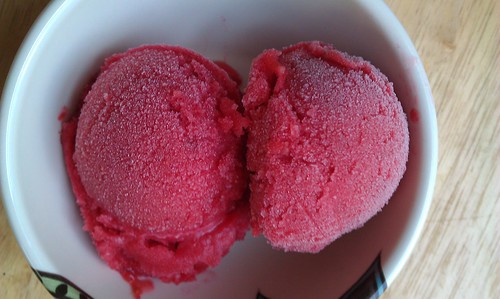
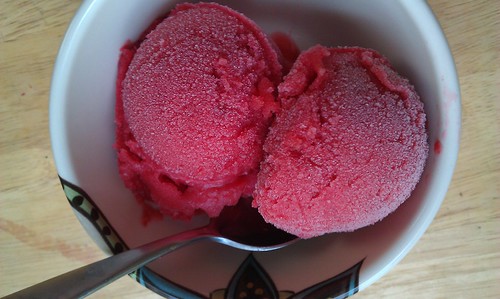
I've had such good intentions to post here - I've been taking pictures left and right. I'm going to try to post all my food pictures and accompanying recipes in the coming week. Some were fantastic, others less exciting, and some I had forgotten I ever made. But they all deserve a spot in the limelight. I'll start with my most recent recipe, Champagne raspberry sorbet. Yum.
This recipe requires an ice-cream maker. The recipe is adapted from David Lebovitz' The Perfect Scoop.
In a pot over medium heat, bring to a boil 1 1/4 cups of bubbly (real Champagne is too expensive for this application, IMO), 1/2 cup sugar, and 1/4 cup water.
When it boils, add 2 cups raspberries - I used frozen, but fresh will work too, I'm sure.
Cover, turn off heat and let steep a while, about 10 minutes, but longer is OK.
Strain out seeds with a wire mesh strainer or a food mill, if you have one.
Let mixture chill. Then put through ice-cream maker. This will take longer than regular, creamy ice cream, so be prepared to watch an entire episode of Modern Family. Fun!
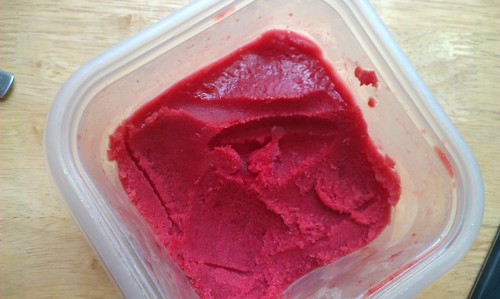
Once the mixture actually looks like sorbet, put it in a container and stick in the freezer for an hour or two. You can sneak a scoop ahead (I did) but it will be a bit melt-y, and won't have the right texture.
Here's what it looks like the next day.
Thursday, June 23, 2011
I'll try harder
I know it's been months since I posted. I have no good excuse. I was inspired by What I Wore to take lots of pictures of what I was wearing. You see, I counted how many dresses, skirts, and summer clothes I had, and it was enough to only have to repeat each item once over the course of a summer. I've been wearing a new outfit every day, but I haven't been taking pictures of them. A few other people did though. My plan started at a wedding which I took part in. I got to choose my dress so long as it was black. Here's what I wore.
It's been a month since the wedding, so I don't remember everything I've worn. I tried recreating the outfits that I do remember. Here's something that did get (sort of) photographed when I wore it.
And here are a few other outfits I pieced together from memory. I'll try to be better about taking pictures of things as they come.
I've also been on a baking kick. Again, no photos. I made an almond cake for the wedding cake I am making in July. Oh yeah... I'm making a wedding cake. More on that later. I also made a mini 2-tier yellow cake with ganache frosting for our friend Kaitlin's going away. I've got a few more coming up, so I'll try to take pictures!
Subscribe to:
Posts (Atom)